How To Replace A Nissan Spark Plug In 5 Minutes
Replacing the spark plugs in your Nissan is an easy and straightforward process. There’s really no point in bringing your car to a Nissan dealership to get the job done.
This guide is going to show you how to replace your spark plugs right in your garage or pretty much anywhere else in a matter of an hour.
The Tools You’ll Need
Note: This list of tools is based on the Nissan Altima, so it might not be completely accurate if you have another Nissan model.
- 5mm hex wrench
- 10mm socket wrench
- 14mm deep spark plug socket
- Extension
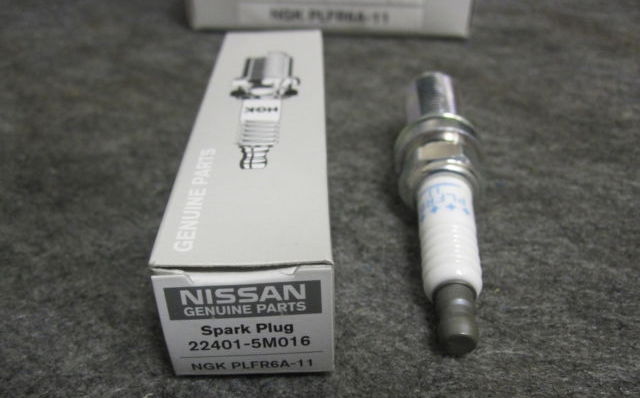
Buying OEM Replacement Spark Plugs
Before starting this job, you need replacement plugs on hand. We highly recommend getting OEM spark plugs instead of aftermarket plugs for many reasons.
Even though OEM spark plugs are already affordable, they’re even more affordable when you order from us. We offer wholesale pricing for 100% genuine OEM spark plugs. Check out our catalog to see if we have spark plugs for your Nissan model!
The One Hour Replacement Process

Image Credit: PaulsTravelPictures
We based this set of instructions on the four-cylinder 2.5L engine found in the Nissan Altima. But it’s still general enough to be used with most of the other Nissan models.
Removing The Old Spark Plug
- Open the hood.
- Remove the three Allen bolts holding the engine cover in place.
- Remove the 10mm bolt holding the ignition coil in place.
- Push the tab to unplug the wire harness and then take out the ignition coil.
- Now you can see the spark plug if you look into the cylinder. Unscrew the spark plug with the 14mm deep spark plug socket attached to the extension. Remove the spark plug from the cylinder.
- Repeat for the other spark plugs.
Installing The New Spark Plug
- Thread in the new spark plug by hand to avoid cross threading.
- Seat the new spark plug with the spark plug socket. You don’t have to set the gap on it because it already comes preset to the factory specs.
- Tighten the spark plug to the torque specs outlined on the package.
- Put the ignition coil back on to the spark plug.
- Connect the wire harness to the ignition coil.
- Secure the ignition coil with the bolt you took out.
- Repeat for the other spark plugs that need to be installed.
- Put the engine cover back in place and then secure it with the three bolts you took out.
That’s all! If you need any clarification on something related to this spark plug replacement process, you’re always welcome to contact us.