How To Change A Nissan Transmission Filter
Like any fluid in your vehicle, transmission fluid begins to get contaminated over time. To ensure your Nissan transmission is shifting its best, you should be sure to regularly change the fluid and filter. You can learn more about when to change your filter in this blog post. Changing the filter can be relatively easy if you have a few tools, the proper torque specs and an hour or two. When changing the transmission filter, you should also plan on replacing the transmission fluid.
Tools You’ll Need:
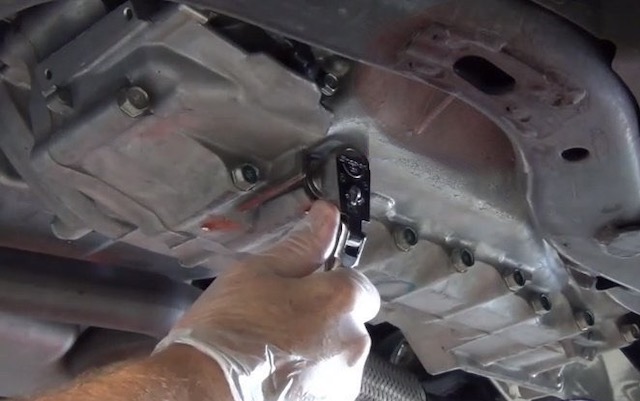
Image Credit: CarRepairWorld
- Rachet Wrench Set
- Catchpan
- Nissan transmission strainer filter or cartridge filter
- Torque wrench
How To Change Your Nissan Transmission Filter
Above we mentioned the strainer filter and a cartridge filter. Your Nissan has either a cartridge filter, or a strainer filter. A cartridge transmission filter is similar to a cartridge oil filter. The strainer filter is located just inside the transmission pan. You should always change the filter when changing the transmission fluid. This ensures you’re working with clean fluids and keeping your transmission as clean as possible. Replacing a strainer filter is more complex than replacing a cartridge filter, but is still a pretty easy job. To replace your strainer filter:
- Park your car on a flat level surface.
- Lift the car using a jack and jack stands to allow room to work under the vehicle.
- Remove any plastic body cladding that may be in the way.
- Once you’ve located the underside of the transmission, you’ll notice around 20 bolts around the underside of the pan. These bolts seal the pan in place.
- Remove the transmission drain plug and use the catch pan to collect the transmission fluid.
- Once the fluid has drained, remove the bolts around the pan.
- After the pan has been removed, you can begin loosening the bolts that attach the strainer filter. The number varies depending on which Nissan you have.
- Once you’ve removed these bolts the strainer should be free of the transmission.
- Install the new filter.
- Reinstall the transmission pan. Be sure to check the specification on torquing the transmission pan bolts. To ensure a proper seal, these 20 (or so) bolts should all be torqued correctly.
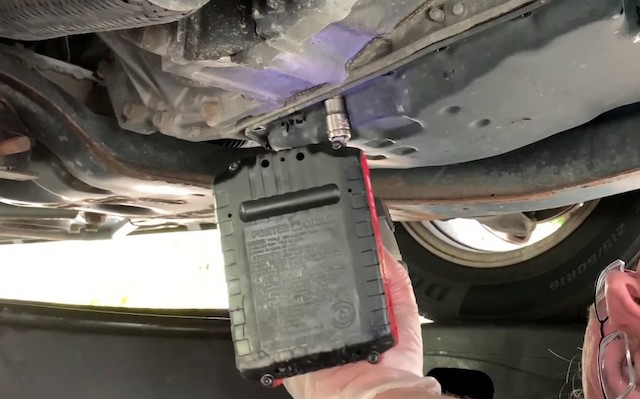
If your car has a cartridge filter, the job is simpler. Locate the small filter housing on the side of the transmission. After draining the fluid, remove the bolts around the housing, and remove the old filter. Replace with a new filter before reinstalling the housing.
If you’d like to learn more about how a transmission filter works you can find that in this post.